Donkey Simulator
The donkeycar project provides a simulator for data collection and training in multiple environments. It can be controlled manually, through pid, or nn over websockets. The guide for the simulator is here.
Install Simulator
- Download simulator for Ubuntu 16.04 here. This version was tested in March 2018. A newer version may be available.
- Extract the download. This will create a new folder with executable and other assets.
~$ tar -xvf DonkeySimLinux.tar.gz
~$ ls
DonkeySimLinux  DonkeySimLinux.tar.gz
Simulate
Run the donkey sim executable.
~$ cd DonkeySimLinux
~/DonkeySimLinux$ ./donkey_sim.x86_64
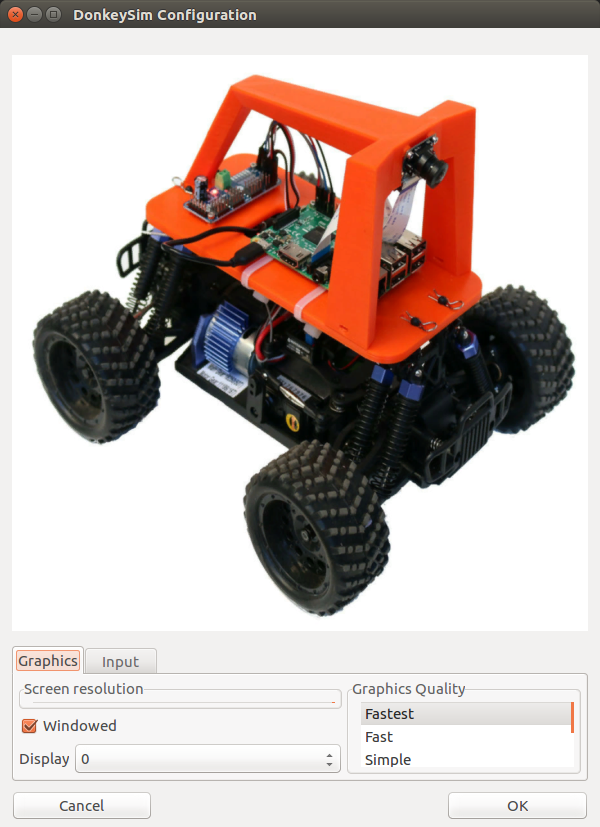
You will be presented with a configuration page to modify controls.
Accept the default by choosing OK.
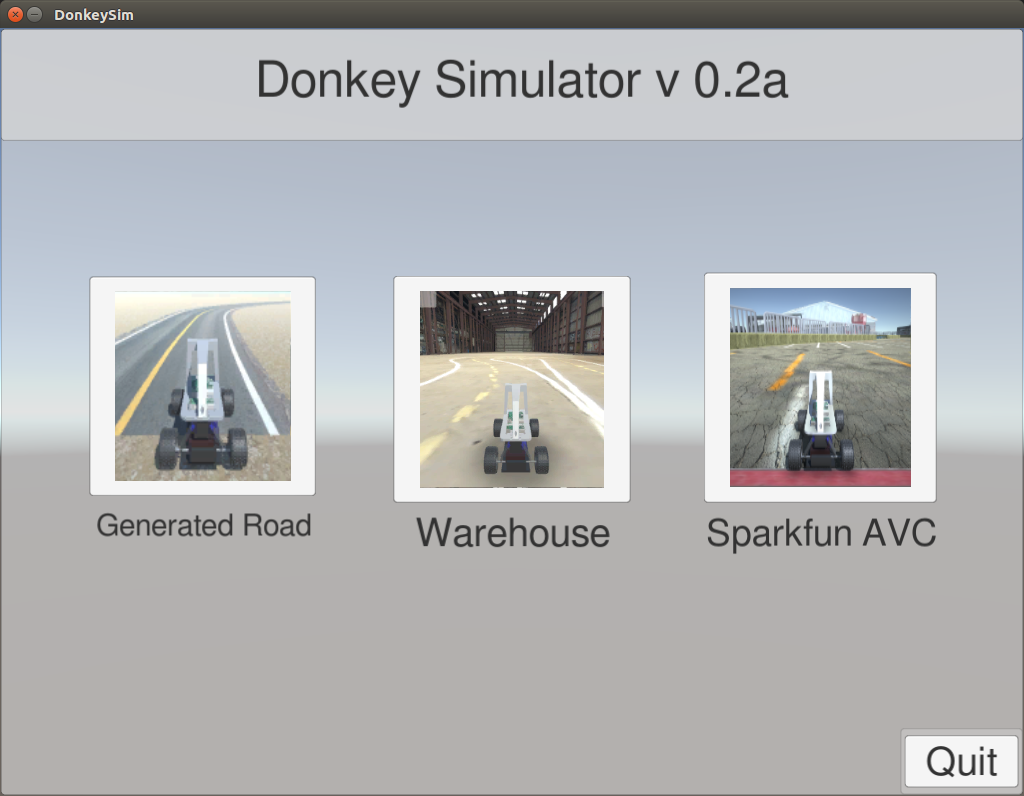
Choose the Warehouse environment.
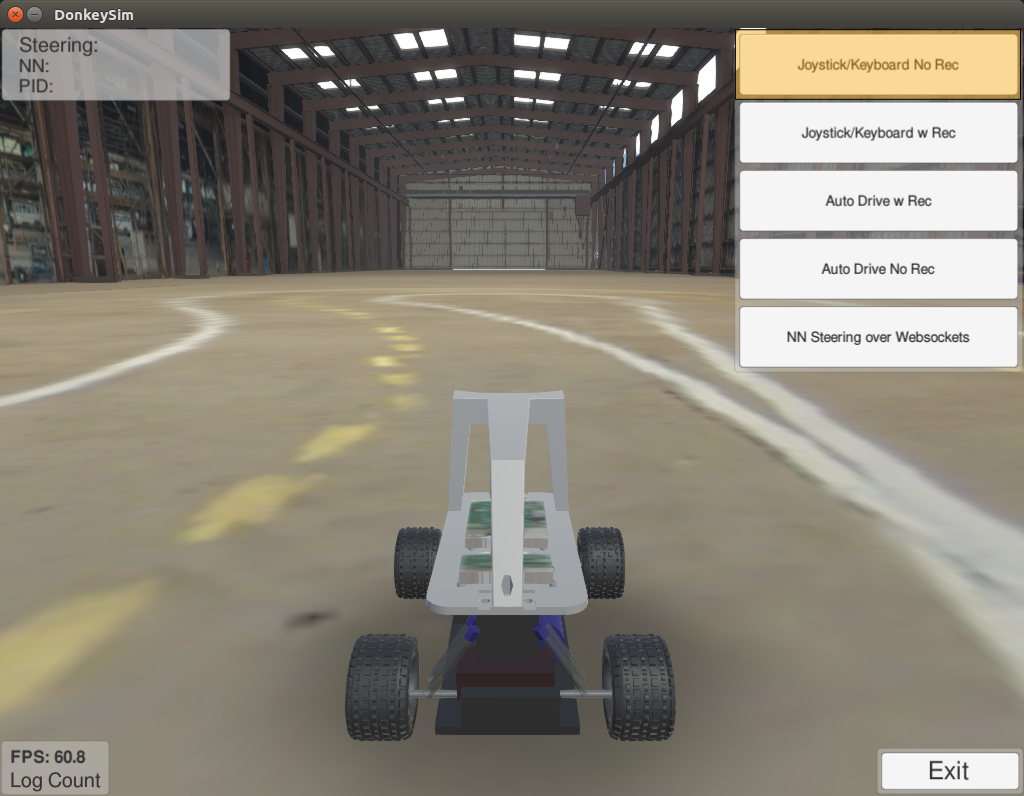
You will be presented with the car on the track.
Choose Joystick/Keyboard No Rec to drive the robot without logging.
Use the arrow keys to drive the robot.
Left/Right keys will steer the robot. Releasing will restore the steering to center.
Up/Down keys will increase/decrease throttle. Releasing throttle WILL NOT stop the robot.
Install Donkeycar Library
Install dependencies
~$ sudo apt-get install virtualenv build-essential python3-dev gfortran libhdf5-dev
~$ virtualenv env -p python3
~$ source env/bin/activate
(env) ~$ pip install keras==2.0.6
(env) ~$ pip install tensorflow==1.3.0
Install donkeycar library
(env) ~$ git clone https://github.com/wroscoe/donkey.git
(env) ~$ pip install -e donkey/
Collect Training Data
Once in an environment, choose Joystick/Keyboard Rec.
This will log the image and command data to DonkeySimLinux/log if this directory exists.
This folder will contain jpg images of what the robot saw and json files mapping these images to drive commands.
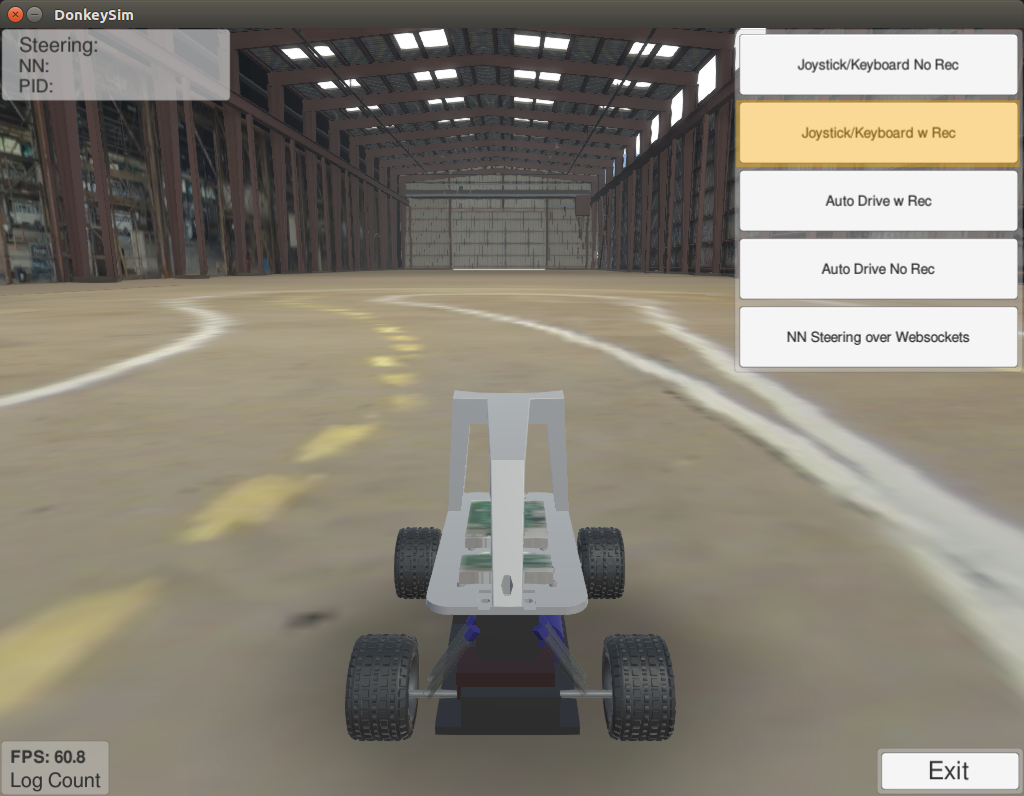
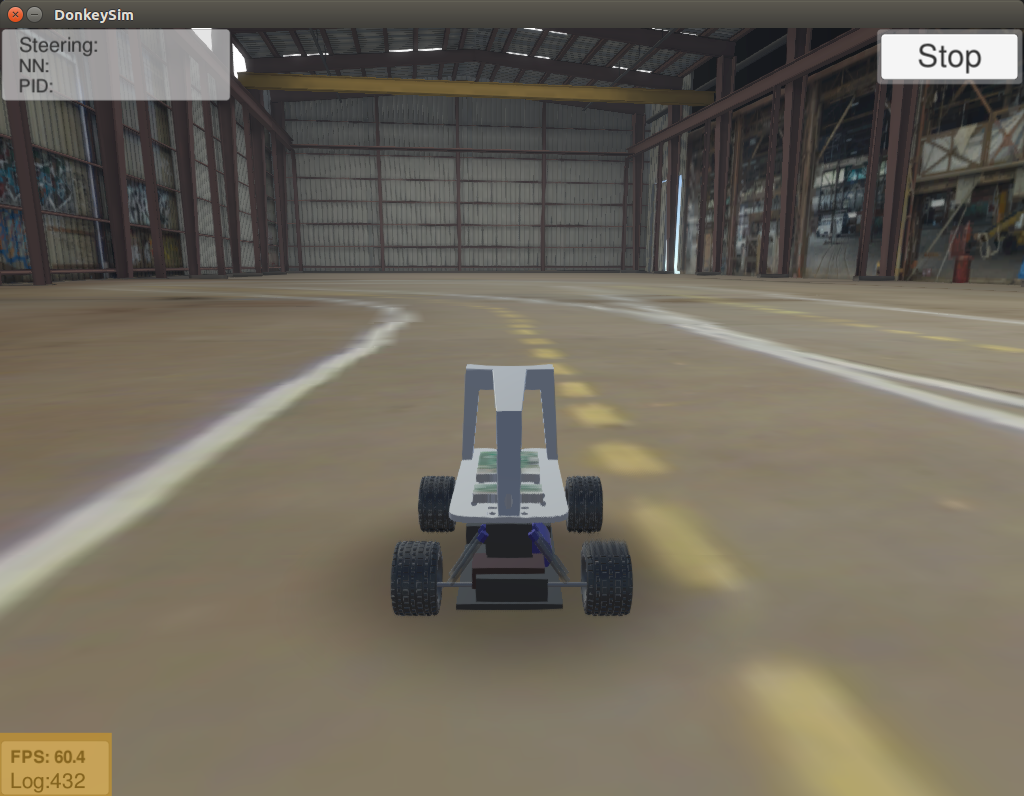
Notice that while logging, the Log Count number will start increasing.
Operate the robot until log count reaches 10,000.
Note: 10,000 is the MINIMUM number of images needed. To have an effective training, much more is needed.
Train
This section assumes you have installed the donkeycar library and simulator, and collected data.
Create a new car
(env) ~$ donkey createcar --path ~/mynewcar
A new folder will be created called mynewcar.
Move training data to car
(env) ~$ cp -r ~/DonkeySimLinux/log/ ~/mynewcar/data/
Train car
(env) ~$ cd ~/mynewcar
(env) ~/mynewcar$ python manage.py train --tub=data/log/ --model=models/mypilot
An output similar to below should be seen while training.
Epoch 1/100
2018-03-18 12:28:22.781694: W tensorflow/core/platform/cpu_feature_guard.cc:45] The TensorFlow library wasn't compiled to use SSE4.1 instructions, but these are available on your machine and could speed up CPU computations.
2018-03-18 12:28:22.781718: W tensorflow/core/platform/cpu_feature_guard.cc:45] The TensorFlow library wasn't compiled to use SSE4.2 instructions, but these are available on your machine and could speed up CPU computations.
2018-03-18 12:28:22.781725: W tensorflow/core/platform/cpu_feature_guard.cc:45] The TensorFlow library wasn't compiled to use AVX instructions, but these are available on your machine and could speed up CPU computations.
2018-03-18 12:28:22.781730: W tensorflow/core/platform/cpu_feature_guard.cc:45] The TensorFlow library wasn't compiled to use AVX2 instructions, but these are available on your machine and could speed up CPU computations.
2018-03-18 12:28:22.781735: W tensorflow/core/platform/cpu_feature_guard.cc:45] The TensorFlow library wasn't compiled to use FMA instructions, but these are available on your machine and could speed up CPU computations.
42/69 [=================>............] - ETA: 30s - loss: 1.5613 - angle_out_loss: 1.7344 - throttle_out_loss: 0.3448
The amount of time to train will vary by computer and training data quality.
When done, you will see something like
Epoch 00021: early stopping
You should now be able to use your model.
Start the robot
Start the robot simulator.
(env) ~/mynewcar$ donkey sim --model=models/mypilot
Wait to see
wsgi starting up on http://0.0.0.0:9090
Ensure the environment simulator is running
Let robot drive
In the environment simulator, choose NN Steering w Websockets
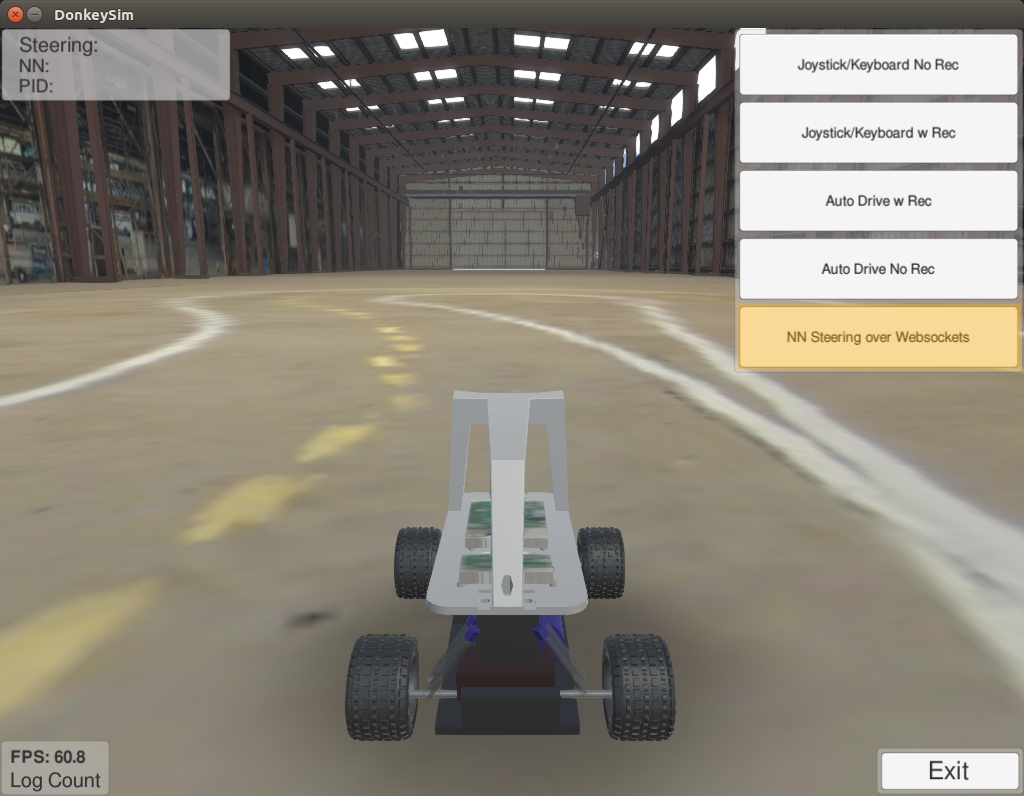 The result should be something like this.
The robot drives horribly, but it is clear that it is responding to its environment.